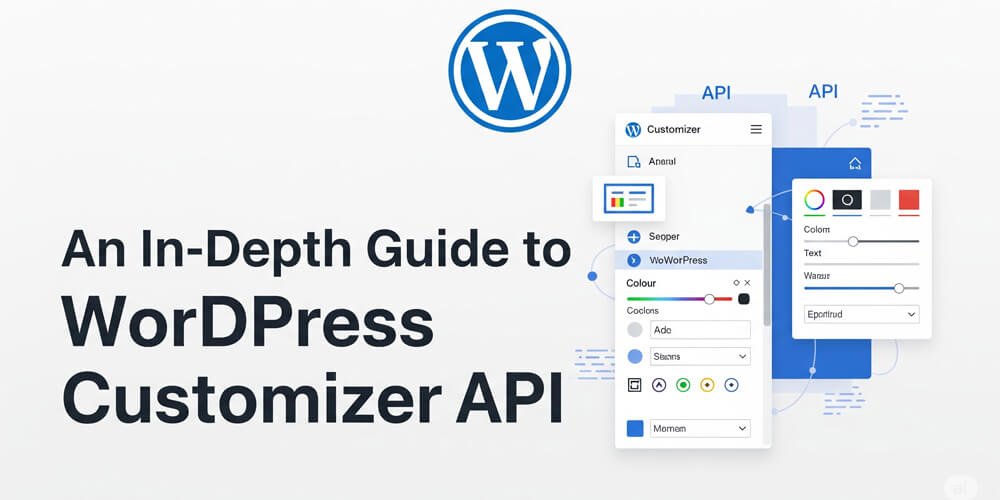
The WordPress Customizer API provides a powerful and user-friendly interface for site administrators and users to modify theme settings and preview changes in real-time, directly from the WordPress dashboard. With the Customizer, developers can create custom panels, sections, settings, and controls, enabling a seamless and interactive experience for customizing themes and plugins without touching code.
This guide offers a comprehensive walkthrough of the Customizer API, explaining its core concepts and demonstrating practical implementations. You will learn how to add custom sections, settings, and controls—including text fields, color pickers, and dropdowns—as well as how to leverage live preview functionality using JavaScript. Additionally, the guide covers advanced topics such as organizing options with panels and creating custom controls for unique use cases.
By following the examples and best practices outlined here, you will be equipped to enhance your WordPress projects with robust, intuitive customization options that improve both usability and user experience.
Table of Contents
Open Table of Contents
- Understanding the WordPress Customizer API
- Adding a Custom Section to the WordPress Customizer
- Adding Settings and Controls
- Adding a Color Picker
- Adding a Dropdown Select Control
- Using Live Preview with JavaScript (PostMessage Transport)
- Saving and Using Customizer Settings in Theme Files
- Adding a Custom Panel
- Adding Customizer Controls with WP_Customize_Control
- Frequently Asked Questions (FAQ)
- Further Reading
Understanding the WordPress Customizer API
The WordPress Customizer API is designed to provide developers and users with a flexible, real-time interface for modifying site appearance and behavior. By exposing theme and plugin options through a visual editor, the Customizer streamlines the process of making changes, previewing them instantly, and saving them with confidence. Understanding the structure and workflow of the Customizer API is essential for building intuitive customization experiences and empowering users to personalize their websites without writing code.
The Customizer API consists of four main components:
- Panels: Containers for sections (optional, used for grouping sections).
- Sections: Containers for controls.
- Settings: Store values in the database.
- Controls: Interface elements like text fields, dropdowns, and color pickers.
Adding a Custom Section to the WordPress Customizer
To add a new section to the WordPress Customizer, you need to hook into the customize_register action and use the $wp_customize->add_section() method. This allows you to group related settings and controls under a custom heading in the Customizer interface, making it easier for users to find and manage theme options.
Here’s how you can do it:
-
Hook into the Customizer:
Use thecustomize_registeraction to register your custom section when the Customizer is initialized. -
Add a Section:
Call theadd_sectionmethod on the$wp_customizeobject, providing a unique ID and an array of arguments such astitle,priority, and optionallydescriptionorpanel(if organizing under a panel).
Example:
function mytheme_customize_register($wp_customize) {
    // Add a new section
    $wp_customize->add_section('mytheme_custom_section', array(
        'title'       => __('Custom Settings', 'mytheme'),
        'priority'    => 30,
    ));
}
add_action('customize_register', 'mytheme_customize_register');
This code snippet creates a new section titled “Custom Settings” in the WordPress Customizer, which can be used to group various settings and controls related to your theme.
Adding Settings and Controls
Once you have created a custom section, the next step is to add settings and controls to it.
- Settings define the data that will be stored in the WordPress database. Each setting represents a single piece of data, such as a text value, color, or option selection.
- Controls are the user interface elements (like text fields, dropdowns, or color pickers) that allow users to modify the value of a setting within the Customizer.
To add a setting, use the $wp_customize->add_setting() method, specifying a unique ID and an array of arguments such as default value and transport method. Then, use $wp_customize->add_control() to create a control linked to that setting, specifying the control type, label, section, and other options.
By combining settings and controls, you can provide users with intuitive options for customizing your theme or plugin. Below are examples of adding a text field, color picker, and dropdown select control to your custom section.
Text Field Example
Adding a text field to the WordPress Customizer allows users to input and save custom text values directly from the Customizer interface. This is useful for settings like site taglines, custom messages, or any other text-based option you want to make editable. By registering a setting and linking it to a text control, you provide a simple and intuitive way for users to personalize their theme or plugin without editing code. The following example demonstrates how to add a text field to your custom section.
function mytheme_customize_register($wp_customize) {
    // Add setting
    $wp_customize->add_setting('mytheme_custom_text', array(
        'default'   => 'Default Text',
        'transport' => 'refresh',
    ));

    // Add control
    $wp_customize->add_control('mytheme_custom_text_control', array(
        'label'    => __('Custom Text', 'mytheme'),
        'section'  => 'mytheme_custom_section',
        'settings' => 'mytheme_custom_text',
        'type'     => 'text',
    ));
}
add_action('customize_register', 'mytheme_customize_register');
This code snippet adds a text field control to the “Custom Settings” section in the WordPress Customizer, allowing users to input custom text that will be saved as a theme option.
Adding a Color Picker
Adding a color picker control to the WordPress Customizer allows users to select and save custom colors for various elements of their theme or plugin. This enhances the visual customization options available to users, enabling them to personalize their site’s appearance easily. By registering a setting for the color value and linking it to a color control, you provide an intuitive interface for selecting colors directly from the Customizer. Below is an example of how to add a color picker control to your custom section.
$wp_customize->add_setting('mytheme_custom_color', array(
    'default'   => '#000000',
    'transport' => 'refresh',
));

$wp_customize->add_control(new WP_Customize_Color_Control($wp_customize, 'mytheme_custom_color_control', array(
    'label'    => __('Custom Color', 'mytheme'),
    'section'  => 'mytheme_custom_section',
    'settings' => 'mytheme_custom_color',
)));
This code snippet adds a color picker control to the “Custom Settings” section in the WordPress Customizer, allowing users to select a custom color that will be saved as a theme option. The WP_Customize_Color_Control class provides a user-friendly interface for color selection, enhancing the customization experience.
Adding a Dropdown Select Control
Adding a dropdown select control to the WordPress Customizer allows users to choose from predefined options, making it easy to select settings like layout styles, font choices, or other categorical options. This type of control enhances usability by providing a clear and concise way for users to make selections without needing to input text manually. By registering a setting for the selected option and linking it to a select control, you can create a streamlined customization experience. Below is an example of how to add a dropdown select control to your custom section.
$wp_customize->add_setting('mytheme_custom_select', array(
    'default'   => 'option1',
    'transport' => 'refresh',
));

$wp_customize->add_control('mytheme_custom_select_control', array(
    'label'    => __('Select Option', 'mytheme'),
    'section'  => 'mytheme_custom_section',
    'settings' => 'mytheme_custom_select',
    'type'     => 'select',
    'choices'  => array(
        'option1' => __('Option 1', 'mytheme'),
        'option2' => __('Option 2', 'mytheme'),
    ),
));
This code snippet adds a dropdown select control to the “Custom Settings” section in the WordPress Customizer, allowing users to choose between predefined options. The choices array defines the available options, enhancing the customization experience by providing a clear selection interface.
Using Live Preview with JavaScript (PostMessage Transport)
To enhance the user experience in the WordPress Customizer, you can implement live preview functionality using JavaScript. This allows users to see changes in real-time without needing to refresh the page, making customization more intuitive and immediate.
To enable live preview without page refresh:
$wp_customize->add_setting('mytheme_custom_text', array(
    'default'   => 'Live Preview Text',
    'transport' => 'postMessage',
));
Then enqueue JavaScript:
function mytheme_customizer_live_preview() {
    wp_enqueue_script('mytheme-customizer', get_template_directory_uri() . '/js/customizer.js', array('customize-preview'), null, true);
}
add_action('customize_preview_init', 'mytheme_customizer_live_preview');
And in js/customizer.js:
(function($) {
    wp.customize('mytheme_custom_text', function(value) {
        value.bind(function(newval) {
            $('.site-title').text(newval);
        });
    });
})(jQuery);
This code snippet sets up live preview functionality for the mytheme_custom_text setting, allowing changes to be reflected immediately in the site title without requiring a page refresh. The JavaScript listens for changes to the setting and updates the corresponding element on the page dynamically.
Saving and Using Customizer Settings in Theme Files
To use the settings defined in the Customizer within your theme files, you can retrieve them using the get_theme_mod() function. This function allows you to access the values of your custom settings and apply them throughout your theme, such as in header.php, footer.php, or any other template file.
Retrieve settings in header.php or footer.php:
echo get_theme_mod('mytheme_custom_text', 'Default Text');For color styles:
<style>
    body { background-color: <?php echo get_theme_mod('mytheme_custom_color', '#ffffff'); ?>; }
</style>
This code snippet demonstrates how to retrieve and display the custom text setting in your theme’s header or footer. It also shows how to apply the custom color setting as a background color for the body element, allowing users to see their changes reflected in the site’s appearance.
Adding a Custom Panel
To organize your Customizer options better, you can create custom panels. Panels allow you to group related sections together, making it easier for users to navigate and manage their settings. This is particularly useful for themes or plugins with many customization options.
To add a custom panel, you can use the $wp_customize->add_panel() method. This method allows you to create a new panel with a unique ID and an array of arguments such as title, priority, and description. You can then assign sections to this panel, further organizing your Customizer options.
$wp_customize->add_panel('mytheme_custom_panel', array(
    'title'    => __('My Custom Panel', 'mytheme'),
    'priority' => 10,
));

$wp_customize->add_section('mytheme_panel_section', array(
    'title'  => __('Panel Section', 'mytheme'),
    'panel'  => 'mytheme_custom_panel',
    'priority' => 10,
));
This code snippet creates a new panel titled “My Custom Panel” in the WordPress Customizer and adds a section titled “Panel Section” to it. This organization helps users find related settings more easily, improving the overall user experience when customizing their theme or plugin.
Adding Customizer Controls with WP_Customize_Control
To create custom controls in the WordPress Customizer, you can extend the WP_Customize_Control class. This allows you to build unique controls tailored to your specific needs, such as custom input fields, sliders, or any other interactive elements that are not provided by default.
class My_Custom_Control extends WP_Customize_Control {
    public $type = 'custom';
    public function render_content() {
        echo '<label><span class="customize-control-title">' . esc_html($this->label) . '</span>';
        echo '<input type="text" value="' . esc_attr($this->value()) . '" ' . $this->link() . ' />';
        echo '</label>';
    }
}

$wp_customize->add_control(new My_Custom_Control($wp_customize, 'my_custom_control', array(
    'label'    => __('Custom Control', 'mytheme'),
    'section'  => 'mytheme_custom_section',
    'settings' => 'mytheme_custom_text',
)));
This code snippet demonstrates how to create a custom control by extending the WP_Customize_Control class. The My_Custom_Control class defines a custom input field that can be used in the Customizer. By registering this control, you can provide users with a unique interface for modifying settings in your theme or plugin.
Frequently Asked Questions (FAQ)
-
Can I use the Customizer API in plugins as well as themes?
Yes, the Customizer API can be used in both themes and plugins. Simply hook into thecustomize_registeraction from your plugin and add your panels, sections, settings, and controls as needed. -
How do I sanitize user input from Customizer settings?
You can specify asanitize_callbackwhen registering a setting with$wp_customize->add_setting(). This callback function will process and validate the input before saving it to the database. -
Why aren’t my Customizer changes showing up on the live site?
Make sure you are retrieving your settings usingget_theme_mod()in your theme files. Also, check that your settings and controls are registered correctly and that you have published your changes in the Customizer. -
Can I add image upload controls to the Customizer?
Yes, you can use theWP_Customize_Image_Controlclass to add image upload controls, allowing users to upload and select images directly from the Customizer interface. -
How can I reset Customizer settings to their defaults?
There is no built-in reset button in the Customizer, but you can implement this functionality by creating a custom control or plugin that resets settings to their default values programmatically. -
Is it possible to conditionally display controls or sections?
Yes, you can use theactive_callbackargument when adding sections or controls to conditionally display them based on other settings or custom logic. -
Can I use the Customizer API with the WordPress REST API?
While the Customizer API is primarily for the admin interface, you can expose Customizer settings via the REST API by registering them withshow_in_rest => truein your setting arguments. -
Can I add custom controls beyond the built-in types?
Yes, you can extend theWP_Customize_Controlclass to create your own custom controls with unique UI and functionality. -
How do I organize many options in the Customizer?
Use panels to group related sections, and sections to group related controls. This helps keep the Customizer organized and user-friendly. -
Can I enqueue custom scripts or styles for the Customizer?
Yes, use thecustomize_controls_enqueue_scriptsandcustomize_preview_initactions to enqueue custom JavaScript or CSS for the Customizer controls or live preview. -
Is it possible to restrict Customizer access to certain user roles?
Yes, you can use capability checks (likecurrent_user_can()) in your Customizer registration functions to restrict access to specific user roles. -
How do I debug issues with the Customizer?
Use browser developer tools, enable WordPress debugging, and check for JavaScript errors or PHP notices. Also, ensure your hooks and function names are correct.
The WordPress Customizer API is a powerful tool for building user-friendly customization options for themes and plugins. By utilizing settings, controls, live preview, and custom controls, developers can enhance the user experience significantly.
By following this guide, you should be able to implement the Customizer API effectively in your projects. Happy coding!