If you’re running a WordPress blog or website, you already know that site performance matters — not just for user experience, but also for SEO rankings. One of the most overlooked yet critical aspects of site speed is image optimization.
Images often make up the largest portion of a web page’s load time. Unoptimized images can drastically slow down your site, increase bounce rates, and hurt your Google ranking. But the good news? Optimizing images in WordPress is easier than you might think — and it doesn’t have to sacrifice visual quality.
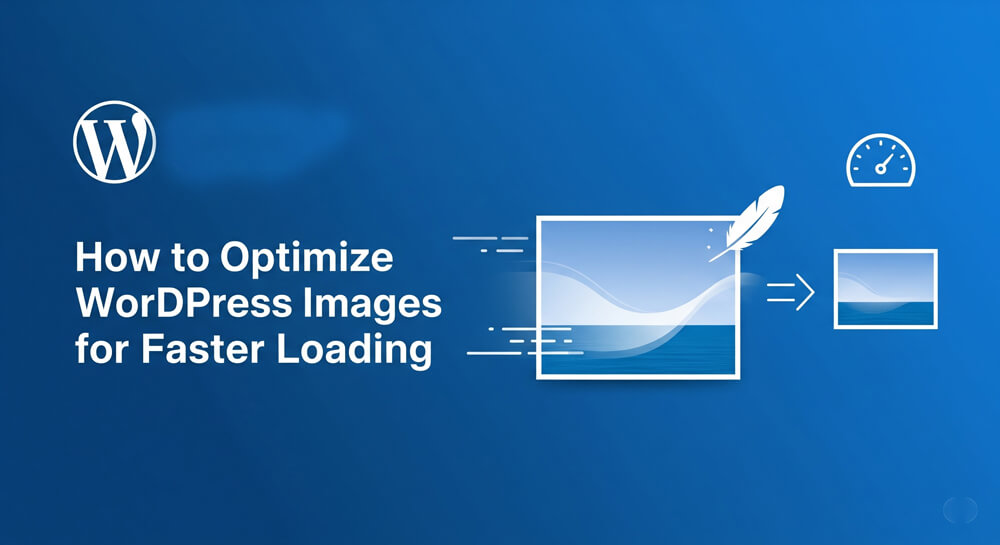
In this article, I’ll walk you through everything you need to know about optimizing images in WordPress for faster loading times, including best practices, tools, and real-world examples. Let’s dive in!
Table of Contents
Open Table of Contents
WordPress Image Optimization Guide
Before diving into the technical steps, it’s important to understand why image optimization is crucial for WordPress sites. Optimized images not only speed up your website but also enhance user experience, improve SEO rankings, and reduce bandwidth usage. By following the strategies in this guide, you’ll ensure your site loads quickly and efficiently, keeping both visitors and search engines happy.
Choose the Right Image Format
Choosing the right image format is the first step in optimizing your images. Different formats serve different purposes, and using the wrong one can lead to larger file sizes and slower load times.
Not all image formats are created equal. Here’s a quick breakdown:
- JPEG: Best for photos and complex images
- PNG: Great for graphics with transparency or sharp edges (logos, icons)
- WebP: Modern format offering better compression than JPEG/PNG; supported by most modern browsers
📌 Tip: Use WebP where possible for smaller file sizes and better quality.
# Example: Convert PNG to WebP using Imagemagick
convert image.png image.webp
Resize Before Upload
Always resize your images before uploading them to WordPress. Uploading full-resolution images only for WordPress to scale them down is a common mistake.
Recommended Sizes:
- Featured images: 1200px wide
- Content images: 800–1000px wide
- Logo/Header: 300–500px wide
Use free tools like Canva or GIMP to resize and save for web.
Compress Your Images
Even after resizing, images can still be large due to embedded metadata. Compression removes unnecessary data without affecting visible quality.
Tools to Use:
- TinyPNG – Online tool for PNG/JPEG compression
- ImageOptim – Free Mac app for lossless optimization
- Squoosh – Open-source Google tool for advanced compression
🎯 Pro Tip: Aim for under 100KB per image for content areas.
Use Lazy Loading
WordPress automatically enables lazy loading for images as of version 5.5+. You can manually add it like this:
<img src="image.jpg" alt="Example" loading="lazy">Lazy loading improves perceived performance by deferring off-screen images until needed.
Install an Image Optimization Plugin
Once images are on your site, use a plugin to automate optimization across your media library.
Top Plugins:
- Smush – Easy-to-use, bulk optimization
- EWWW Image Optimizer – Powerful backend processing
- ShortPixel – Excellent compression ratio and cloud-based processing
Most of these plugins offer both lossy and lossless options.
Case Study: Optimizing a Photography Blog
Problem: A photography blog had a homepage loading at 8 seconds due to unoptimized high-res images. GTMetrix score was D.
Actions taken:
- Converted all JPEGs to WebP
- Resized hero images from 4000px → 1200px
- Used ShortPixel plugin for bulk optimization
Result: Load time dropped to 2.3 seconds, bounce rate decreased by 35%, and Core Web Vitals score improved from red to green.
Pros and Cons of different techniques
Before choosing an image optimization technique, it’s important to understand the strengths and weaknesses of each approach. Some methods offer more control but require manual effort, while others automate the process at the cost of flexibility or added complexity. The table below summarizes the main pros and cons of popular WordPress image optimization strategies to help you decide which best fits your workflow and site needs.
| Method | Pros | Cons |
|---|---|---|
| Manual Compression (TinyPNG) | Full control, no server overhead | Time-consuming for many images |
| Bulk Plugin (Smush) | Automates optimization, scales well | May use external servers |
| CDN-Based Optimization | Scales effortlessly, responsive images | Adds complexity and cost |
| Built-In Lazy Load | No setup required | Only delays loading, not reduces file size |
Benefits and Key Takeaways
✅ Improved Page Speed – Smaller images = faster loads
✅ Better SEO Rankings – Google rewards fast sites
✅ Lower Bounce Rates – Users stay longer on faster pages
✅ Mobile-Friendly Experience – Especially important for low-bandwidth users
✅ Cleaner Media Library – Easier to manage optimized assets
Key Takeaway: Don’t underestimate the impact of image optimization. It’s one of the fastest ways to boost WordPress performance.
Comparison with Alternatives or Plugins
When it comes to optimizing images in WordPress, there are numerous plugins and solutions available, each with its own set of features, pricing, and ease of use. Choosing the right tool depends on your specific needs, such as automation, compression quality, or integration with a CDN. Below is a comparison of some of the most popular WordPress image optimization plugins to help you make an informed decision.
| Plugin | Features | Pricing | Cloud-Based | Best For |
|---|---|---|---|---|
| Smush | Bulk optimize, lazy load | Free / Pro | No | Beginners |
| ShortPixel | High compression, WebP support | Paid plans | Yes | Serious bloggers |
| EWWW | Local optimization, PDF support | Paid plans | No | Developers |
| Imagify | Strong UI, bulk process | Paid plans | Yes | Agencies |
| Optimole | CDN + real-time optimization | Paid | Yes | Sites with lots of traffic |
SEO and Performance Considerations
Optimized images help more than just load time. They also contribute to better SEO in several ways:
- Faster crawlability for search engine bots
- Improved user engagement metrics (dwell time, bounce rate)
- Better mobile performance, which Google prioritizes
Also, don’t forget to add alt text, width, height to every image. This helps accessibility and gives context to search engines.
<img src="nature.jpg" alt="Beautiful sunrise over mountain range" width="800" height="600">Frequently Asked Questions
-
Should I always use WebP instead of JPEG?
Yes, if browser compatibility isn’t a concern. WebP offers superior compression and quality compared to JPEG and PNG. However, older browsers may not support it. -
Can I optimize images after uploading them?
Absolutely! Plugins like Smush and ShortPixel allow you to bulk-optimize your entire media library post-upload. -
Is there a limit to how many images I should include per page?
Aim for no more than 10–15 images per page unless necessary. Each image adds weight, so balance visuals with performance. -
Can I automate image resizing before upload?
Yes, you can use desktop tools like ImageMagick or online services to batch resize images before uploading to WordPress. -
Do image filenames affect SEO?
Yes, descriptive filenames (e.g.,mountain-sunset.jpginstead ofIMG_1234.jpg) help search engines understand your content. -
How do I serve different image sizes for mobile and desktop?
Use thesrcsetattribute in your<img>tags or let WordPress handle responsive images automatically. -
Are there free tools for image compression?
Yes, tools like TinyPNG, Squoosh, and ImageOptim offer free image compression options. -
Can I restore original images after optimization?
Many plugins offer a backup option before optimizing, allowing you to restore originals if needed.
Want More WordPress Tips?
If you found this guide helpful, consider subscribing to my newsletter for more WordPress optimization tips, SEO strategies, and development tutorials delivered straight to your inbox. Or explore my other tools and resources below.
Got questions or want to share your own image optimization tricks? Drop a comment below — I’d love to hear from you!


